
Our android phone needs some tinkering and few customization to get the most out of it. When you purchase a new device, one of the basic thing you’ve to do is to enable some settings and explore round the internet for essential apps. However you can also go further to customize your device and thus take control over it while tinkering with it the way you desire like a boss.
ListView animation can be one of the essential customizable feature you need on your android phone. If you’re one of the geek that loves to Install custom ROMs, you probably would have noticed this feature (ListView animation) on one of the ROM you have flashed. ListView animation gives life to text, it helps to animate text while scrolling through your android phone. Thus this looks perfect and makes your device more gullible and awesome to its beholder.
Also Read: How To Customize The Status Bar Of Your Android Phone Without Rooting.
In this article we’re going to guide you on the procedure to enable the list view animation on your android phone. The good news about this feature (ListView Animation) is that it supports all android device running on 4.0 and above. So there’s no exception for this procedure, however your android phone needs to be rooted as usual in other to enable this feature. Since we’re going to be using an xposed module to achieve our aim here.
Procedure Too Enable ListView Animation On Any Android Phone.
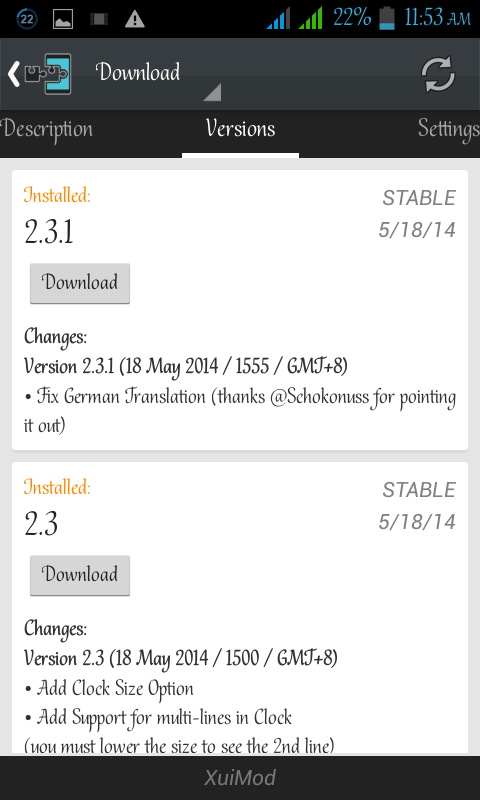
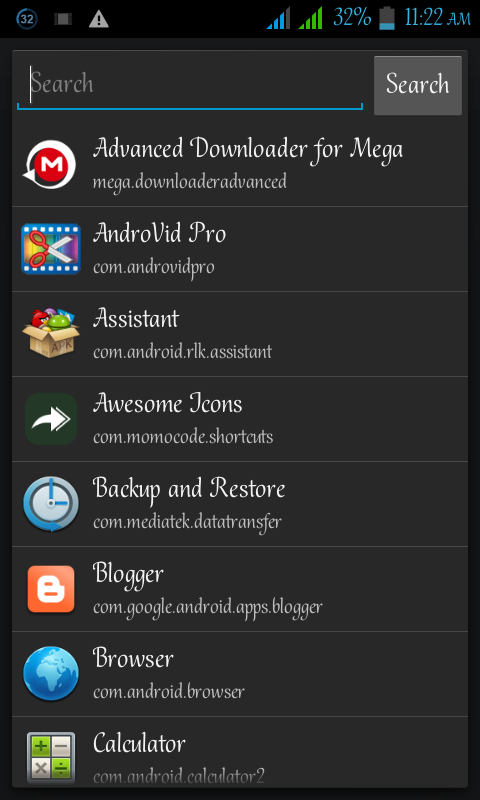
Download and install xposed installer from the xposed repository website, now from your app drawer locate and open the installed app. Tap on the download section and use the search icon to find “Xuimod” without quote. From the search result, tap on it, then swipe the screen to the left to jump to the version tab. Then hit the download button.
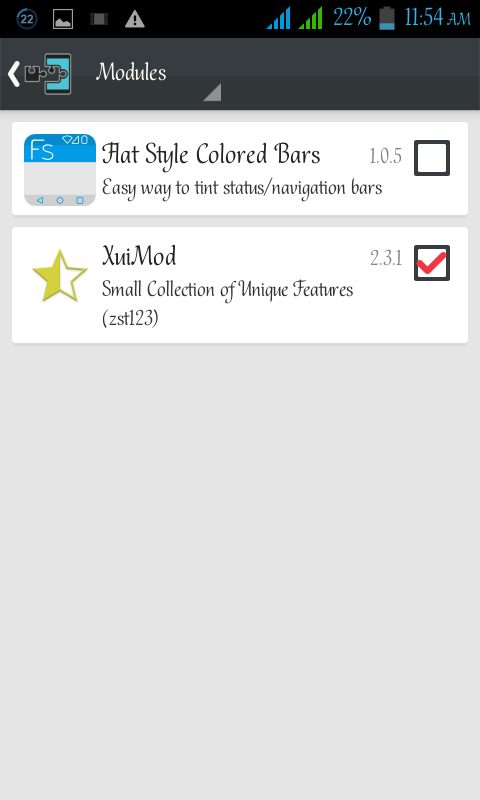
After downloading the module, install it and launch the xposed installer again. This time go to the module section, locate and tick the Xuimod box, now use your android device back button and navigate back to the xposed installer home screen. From there tap on the framework section and perform a soft reboot to activate or enable changes.
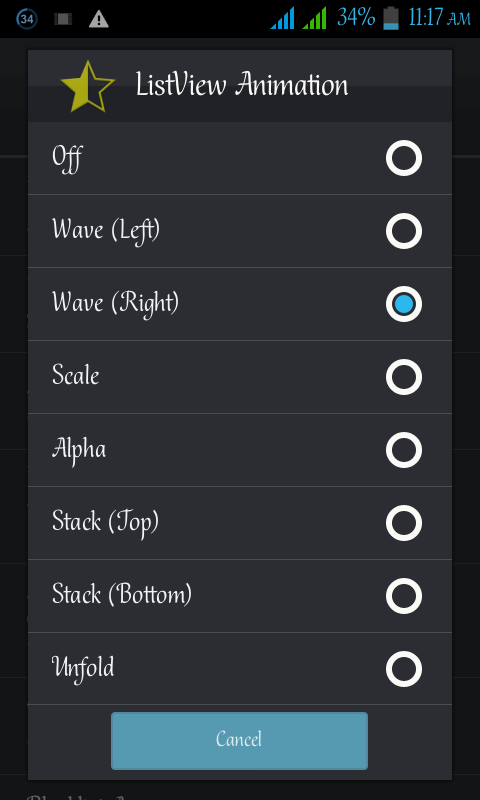
Now we need to do some tinkering here. Locate and open the xuimod from your device app drawer. The app offers varieties of option, however tap on the listview animation option under Animation. From the next page that will emerge, hit the ListView animation option again and a popup will appear. By default it’s in OFF so you can either choose to animate your text from the left, right, scale or alpha etc. So select any option you prefer.
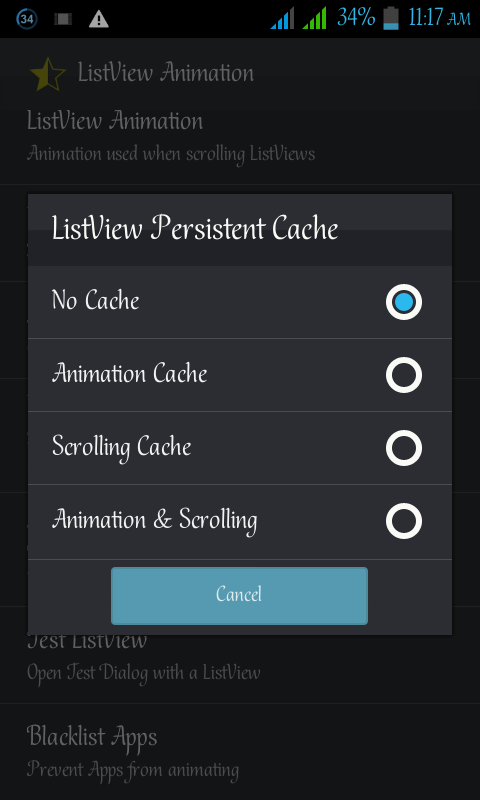
Nex tap on ListView Interpolator and from the popup, select whether to accelerate, decelerate or anticipate your listviews. The animation duration does not offer much function, hence you can leave it in default value or drag the icon to your desires preference. Also the ListView persistent cache determines which cache to persist on your device memory so its either you choose the scrolling/animation cache or you leave it in No cache which is the default option.
The animate once option does not offer much either, its main function is to repeat animated that has already been animated before. So you can either tick the box or leave it blank like before. Now the next option is Test ListView. Tap on it and a popup will appear, simply scroll there it and see the ListView animation Working perfectly.

The Backlist Apps option helps to prevent some of your apps from animating, to backlist apps, tap on it and on the next page, click on Add at the upper right corner of the screen beside the help option. Now from the popup option that will emerge, select the apps you want to prevent from animating and that is it. To revert back to default, simply tap on the selected app and it will disappear.
Customizing & Tinkering Further into Xuimod Module
We won’t explain much here, let’s just explain some essential features found in xuimod. From the module (xuimod) home screen, you can go further in customizing the battery, clock and notification mods. Beware every tinkering you make here requires you to restart the system UI before changes can be enabled.
Going further into the xuimod, you will see some option to tinker with the system, IME, Toast and ticker animation. To be sincere here, I haven’t explored nor tinker with this options, however the ticker animation once enabled and tinkered, can help determine the animation your notification comes with thereby overriding the default animation. You can explore further to see what the other option has intact.
Now from the options under framework we have the lock screen, scrolling and other mods. They all have there various functions, the scrolling mod for instance comes in handy when you feel like customizing the scrolling capability of your android device to be more faster. After tinkering with the xuimod module, simply launch any of your application and scroll through them to see the difference.

So this is how to enable list view animation on any rooted android phone, once you’ve rooted your device, you’re voiding its warranty but also at the process allowing it to perform more functions rather than the designated ones. So enjoy your listview animation. Its stable fast and smooth.