
Theming the status bar and navigation bar on your Android device, can also be referred to as giving a particular setting or ambience to it. I’ve always been a fan of Motor G (XT1032) variant device as it came out of the box with Stock Android just like the Nexus 5 and it’s cohort. You possibly can’t imagine how smooth, fast clean & stable these devices can be, and sometimes you’d feel like rooting them in other to gain full control to tinker or customize them to your satisfaction. The chances here are, you’ve never themed the status bar and navigation bar on your Android device before. All you’ve been doing i guess is probably to grab a bunch of Apks and use them to replace your nav bar or it’s color.
Also Read: How To Customize The Status Bar and Navigation Bar on Android Without Rooting.
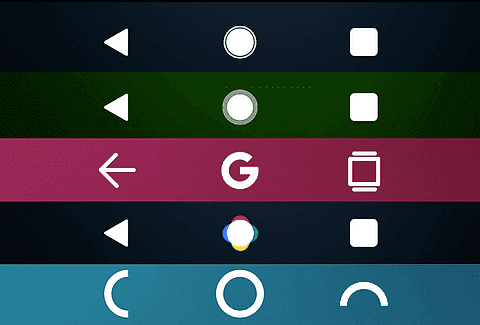
Considering this fact, a developer at XDA “deadlynounou”, has come up with the module named “xStana” and it’s main function is to theme the status bar and navigation bar on your Android device. This also is similar to customizing your status & nav bar, but this time around it comes in a more professional way. Now while xStana seems a bit intriguing, it’ll work to some extent on other Android device. But on stock Android running on 4.4 KitKat just like Moto G, expect a cool and flawless result. Another stuff I’d like to pinpoint is that xStana module is been updated with latest theme as you can see from the below screenshot. The second-to-the-last theme reminds me of the pixels navigation bar animation and i fancy it.
Requirements
- Root Permissions [ Rooting Guide For Every Android ]
- Xposed Framework Installed
- Unknown Source Enabled
Install xStana
To begin with, you’ll need to head over to the Xposed installer from your device’s app drawer. Open the module and jump into the “Download” section. From here, search for “xStana” and then tap on the result. Then swipe over to the “version tab” and hit the “Download” button. Alternatively you can install xStana from the Xposed Repository website or from the Google Play Store.

Activate xStana
Next, you’ll need to activate the module. Thus a notification from Xposed will pop up telling you that xStana has not been activated yet, so tap activate and reboot your device. Alternatively you can also open the Xposed Installer app, then head over to the Module section and tick the xStana box. Then go back and navigate into the framework section and perform a soft reboot.

Choose Your Theme
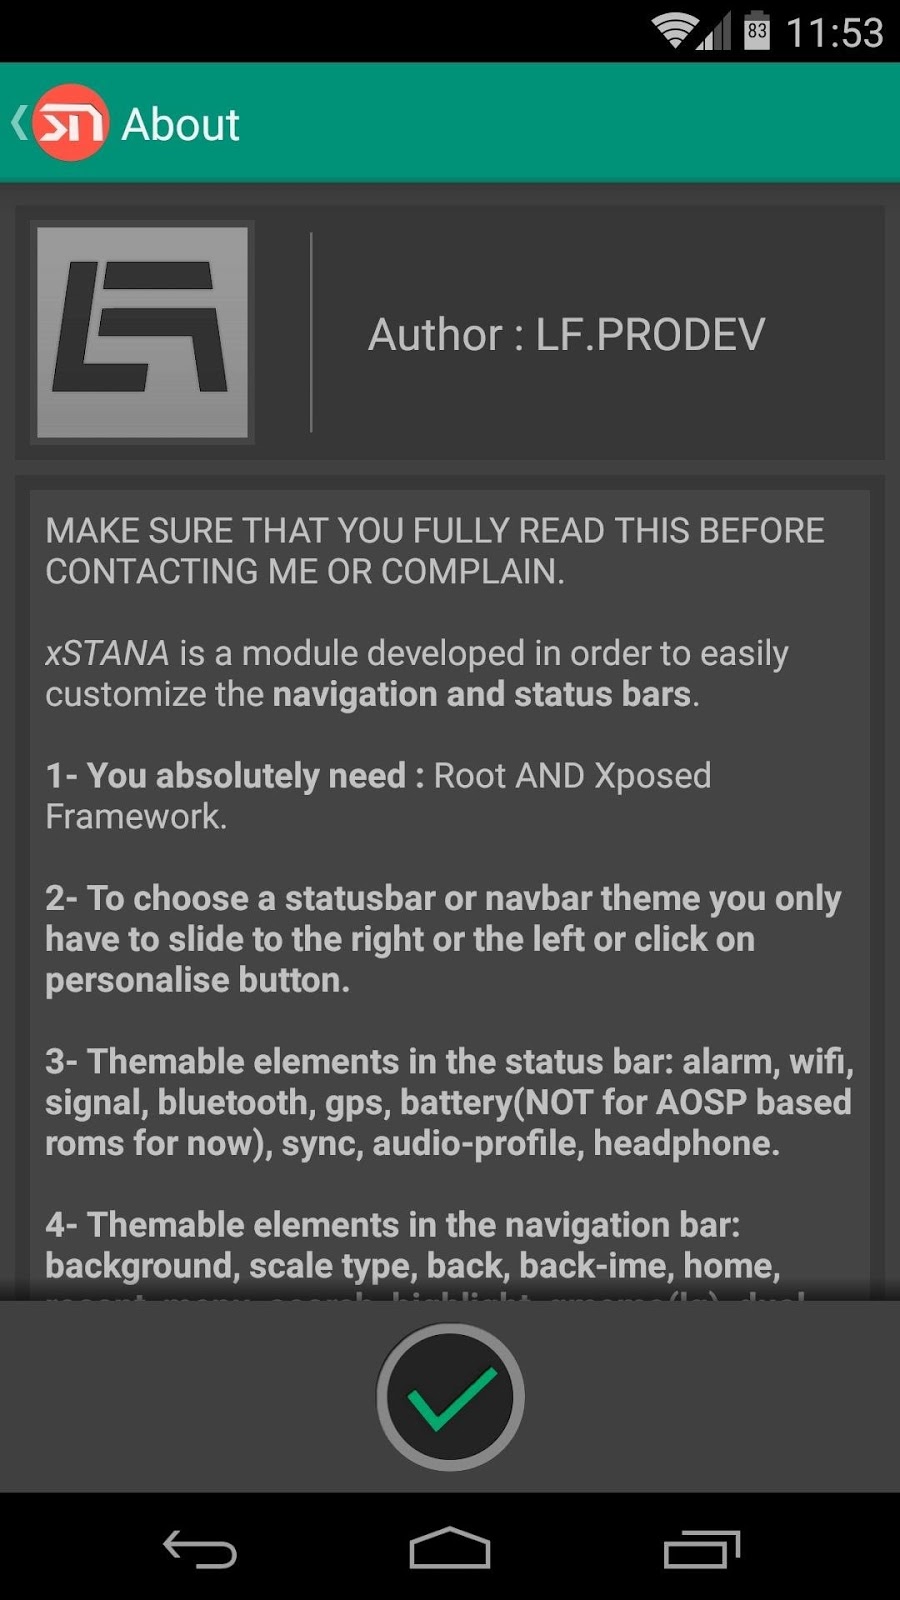
When your device reboots, locate & open the xStana module from your app drawer from here, the developer’s stated clearly and went further to highlight how to use the app. The themeable elements on the status bar are: alarm, signal, bluetooth, wifi, gps, battery, sync, ringer, headset. And on the navigation bar we’ve; back, back-ime, home, recent, menu, search, highlight, background (translucent mode only). Hit the check icon at the bottom of the screen once your through with the instructions.
Theming Your Status Bar
The status bar & navigation bar themes can be applied separately. But first, let’s theme your Android status bar. From the xStana module interface, you’ll see two depiction. The top one is strictly for the status bar, so simply swipe from the left to select your theming style, or you can hit the white box to reveal a drop-down menu and from here, scroll through the list to select your status bar theming style. From the screenshot below, i went for the “AOSP L” since it gives me the lollipop-like status bar.
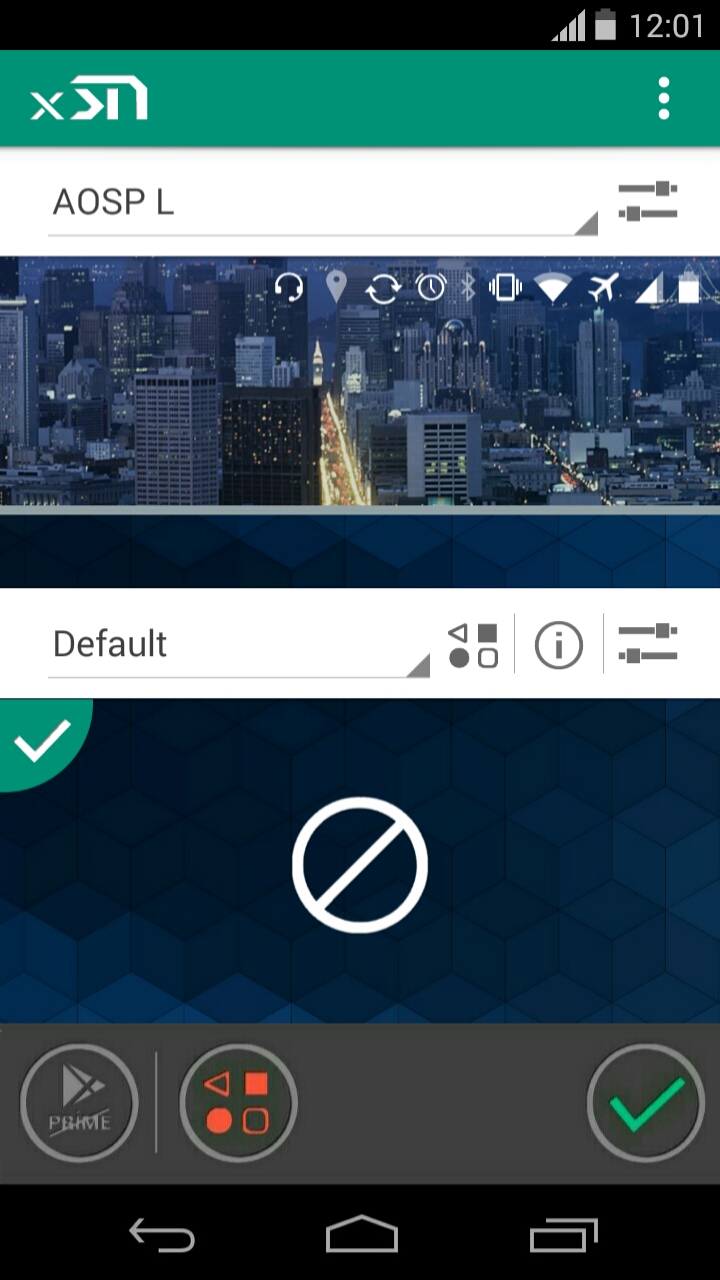
Note that I’m tinkering with the prime version of xStana module which brings a ton of features and more themes. The difference between the free and prime version of xStana, is that with the free version, you can use embeded themes and with Prime you can customize each softkey and the highlight. So I’d advise you purchase the prime version. Now if you want to select the icons to theme, hit the horizontal line icon behind the drop down menu and make your adjustment by deselecting any icon you don’t want to theme.

Theming Your Navigation Bar
The process of theming the status bar is apparently the same with the navigation bar. So you will need to apply the same treatment here. the bottom depiction is strictly for the navigation bar, so simply swipe from the left or right to select your theming style, or you can hit the white box again to reveal a drop-down menu and from here, scroll through the list to select your nav bar theming style. From the screenshot below, i went for the “Nougatine” style since it gives me the Google Pixels navigation bar animation. (But this one isn’t animating).

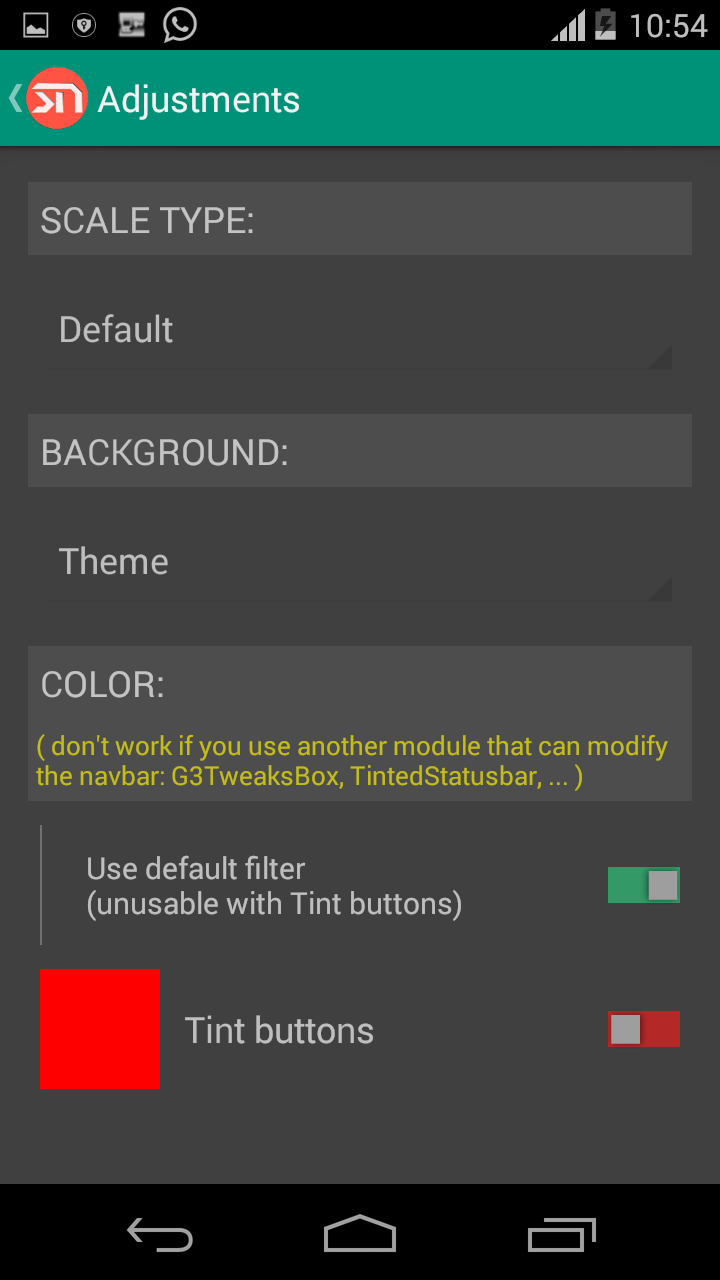
Next or perhaps as usual, once you click on the two horizontal line icon behind the drop down menu box, you’ll be taken to the adjustment section. From there, you have the option to configure the nav bar to your preference. You can change the navigation bar scale tap and also make some adjustments to the nav bar background theme either from gradient black to broken screen.
Enjoy Your Themed Status Bar & Navigation Bar
Once you’re done tinkering with xStana, then all you’ll need is to check the icon in the bottom-right corner of the screen. Now a toast message will appear at this point informing you that a reboot is needed/required before the changes will become active. Simply take care of that by rebooting your Android device. When you’re back on, then you’ll see the newly themed status bar and navigation bar smiling at you.
Final Words
xStana is doubtlessly one of the most powerful modules that makes Android customization easy. No matter the kind of navigation bar you choose, they’ll still function like before and there’s no lag at all. Before we leave, simply comment if you’ve any issue with xStana and also unveil to us the navigation bar style and status bar theming style you choose.